
Gifs, or Gifs, or however you pronounce it are popular "moving images" that are light and easy to use across a variety of platforms. While there are Gif creators available, Google Photos allows you to create your own based on your images without compromising who has your pictures.
To begin, think of something that you will want to create a Gif of. It could be something like a series of photos, a math problem, or funny reactionary faces to something that happened in class. Be sure to check the Do Not Publish list to ensure that any students are clear to be published.
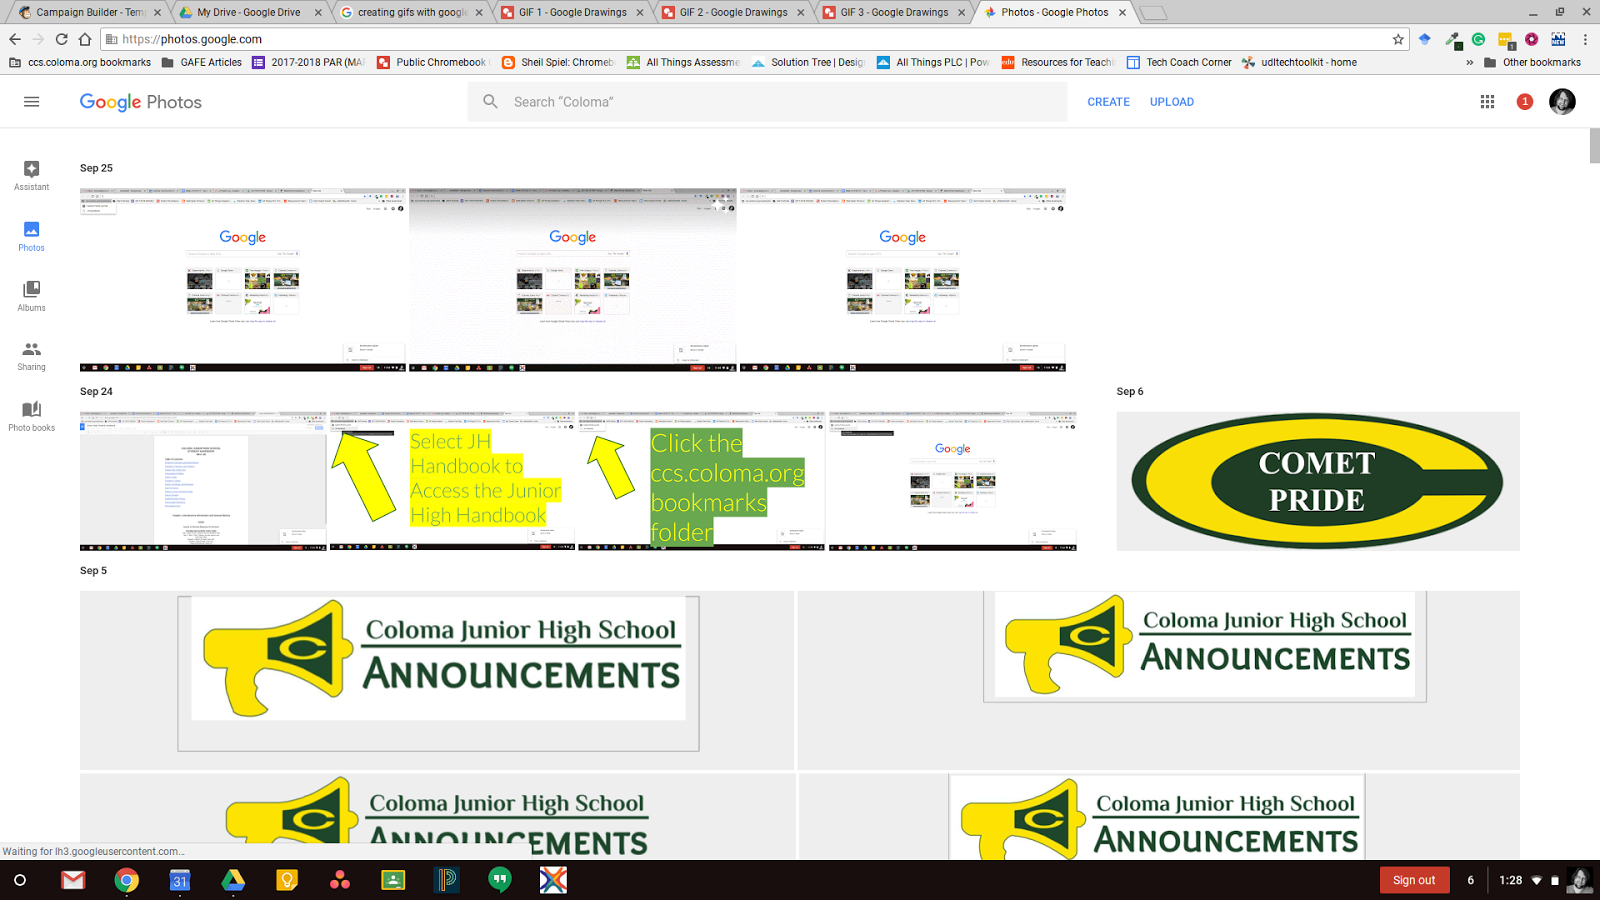
When creating Gifs, you will upload the images to your Google Photos account at photos.google.com. I like to add them to an album. For this purpose, I solved a math equation in Google Drawings and downloaded the images as PNGs. The upload button is on the same line as your image for your Google Account. Click upload and select the images that you would like to use for the creation of the Gif. You can select more than one at a time.


I will then click into the album and locate the "Create Button" located next to the upload button. I will then select "animation" and select the images I wish to use in my Gif. I can select up to 50.

Here is the example of a math problem that I created.

To begin, think of something that you will want to create a Gif of. It could be something like a series of photos, a math problem, or funny reactionary faces to something that happened in class. Be sure to check the Do Not Publish list to ensure that any students are clear to be published.
When creating Gifs, you will upload the images to your Google Photos account at photos.google.com. I like to add them to an album. For this purpose, I solved a math equation in Google Drawings and downloaded the images as PNGs. The upload button is on the same line as your image for your Google Account. Click upload and select the images that you would like to use for the creation of the Gif. You can select more than one at a time.
After the images have loaded, you can add them to an album. I do this so that they are easy to find within the collection of photos that are stored in my Google Photos. I would call the Album something that I am working on or the title of the gif I am creating. The add to album button is in the lower left hand corner.


Finally, I will be able to create my Gif. Pay attention to the order the pictures were taken in as that will be the order they go through in the Gif.
Here is the example of a math problem that I created.

As always, if you have any questions, feel free to reach out. Thanks!
Comments
Post a Comment